
Workflow overview
Video editing and smart talking-head cuts
Open the video editor on the right of a chat, have the AI cut talking-head footage and add subtitles and animation, edit the timeline, effects, and built-in animations by hand, and export in the background.
Checked 2026-10-07. Applies to Beav desktop 2.8.13.
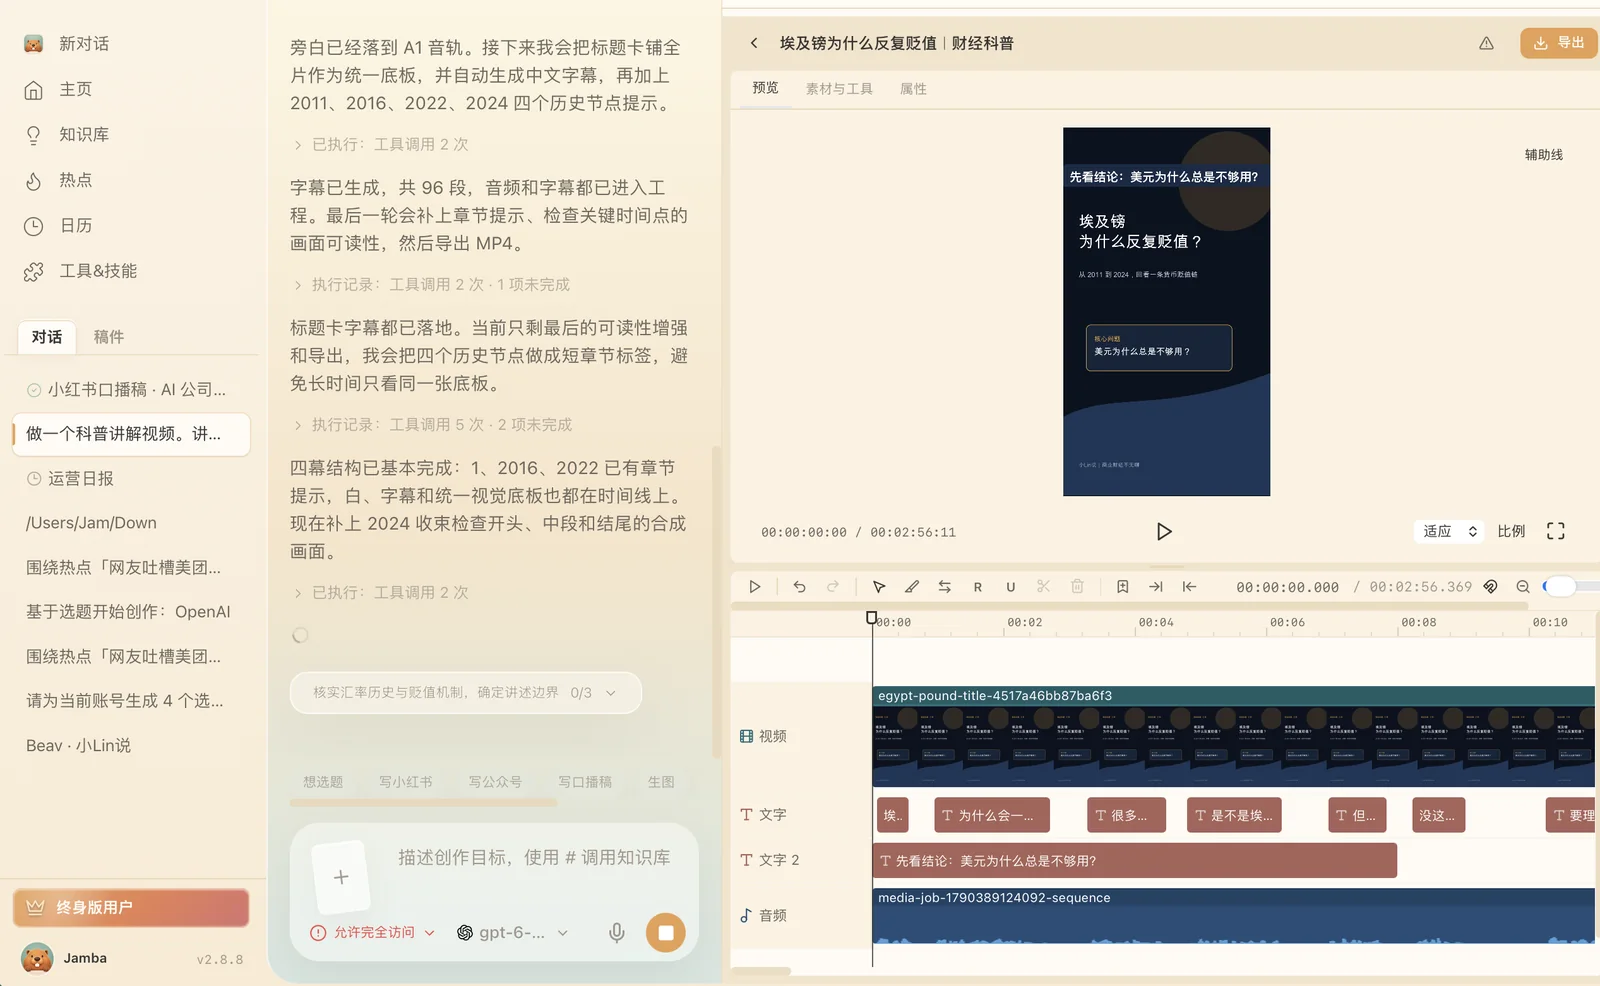
Beav's video editor opens in the right workspace of a chat, while you keep talking to the AI on the left. There is no separate editing page.
Open the editor
- In the right workspace, click + to open a new tab, choose Video editor, then choose a recent project, or choose Create project and import your media.
- Or simply provide a video in the chat and describe how you want it edited. The AI creates or opens a project itself; you do not need to create one by hand first.
Once a project is selected, your next message can direct the AI to edit. The AI can see the current project, the selected clips, the playhead position, and the I/O range. Use the top-left corner to go back to the project list and switch projects. Close the Video editor tab to leave editing and continue an ordinary chat. When you switch chats, each chat restores its own project.
When the sidebar is narrow, the upper panel switches between Preview, Media & tools, and Properties, and the timeline stays visible. Drag the sidebar edge to make it wider.
Smart talking-head cuts
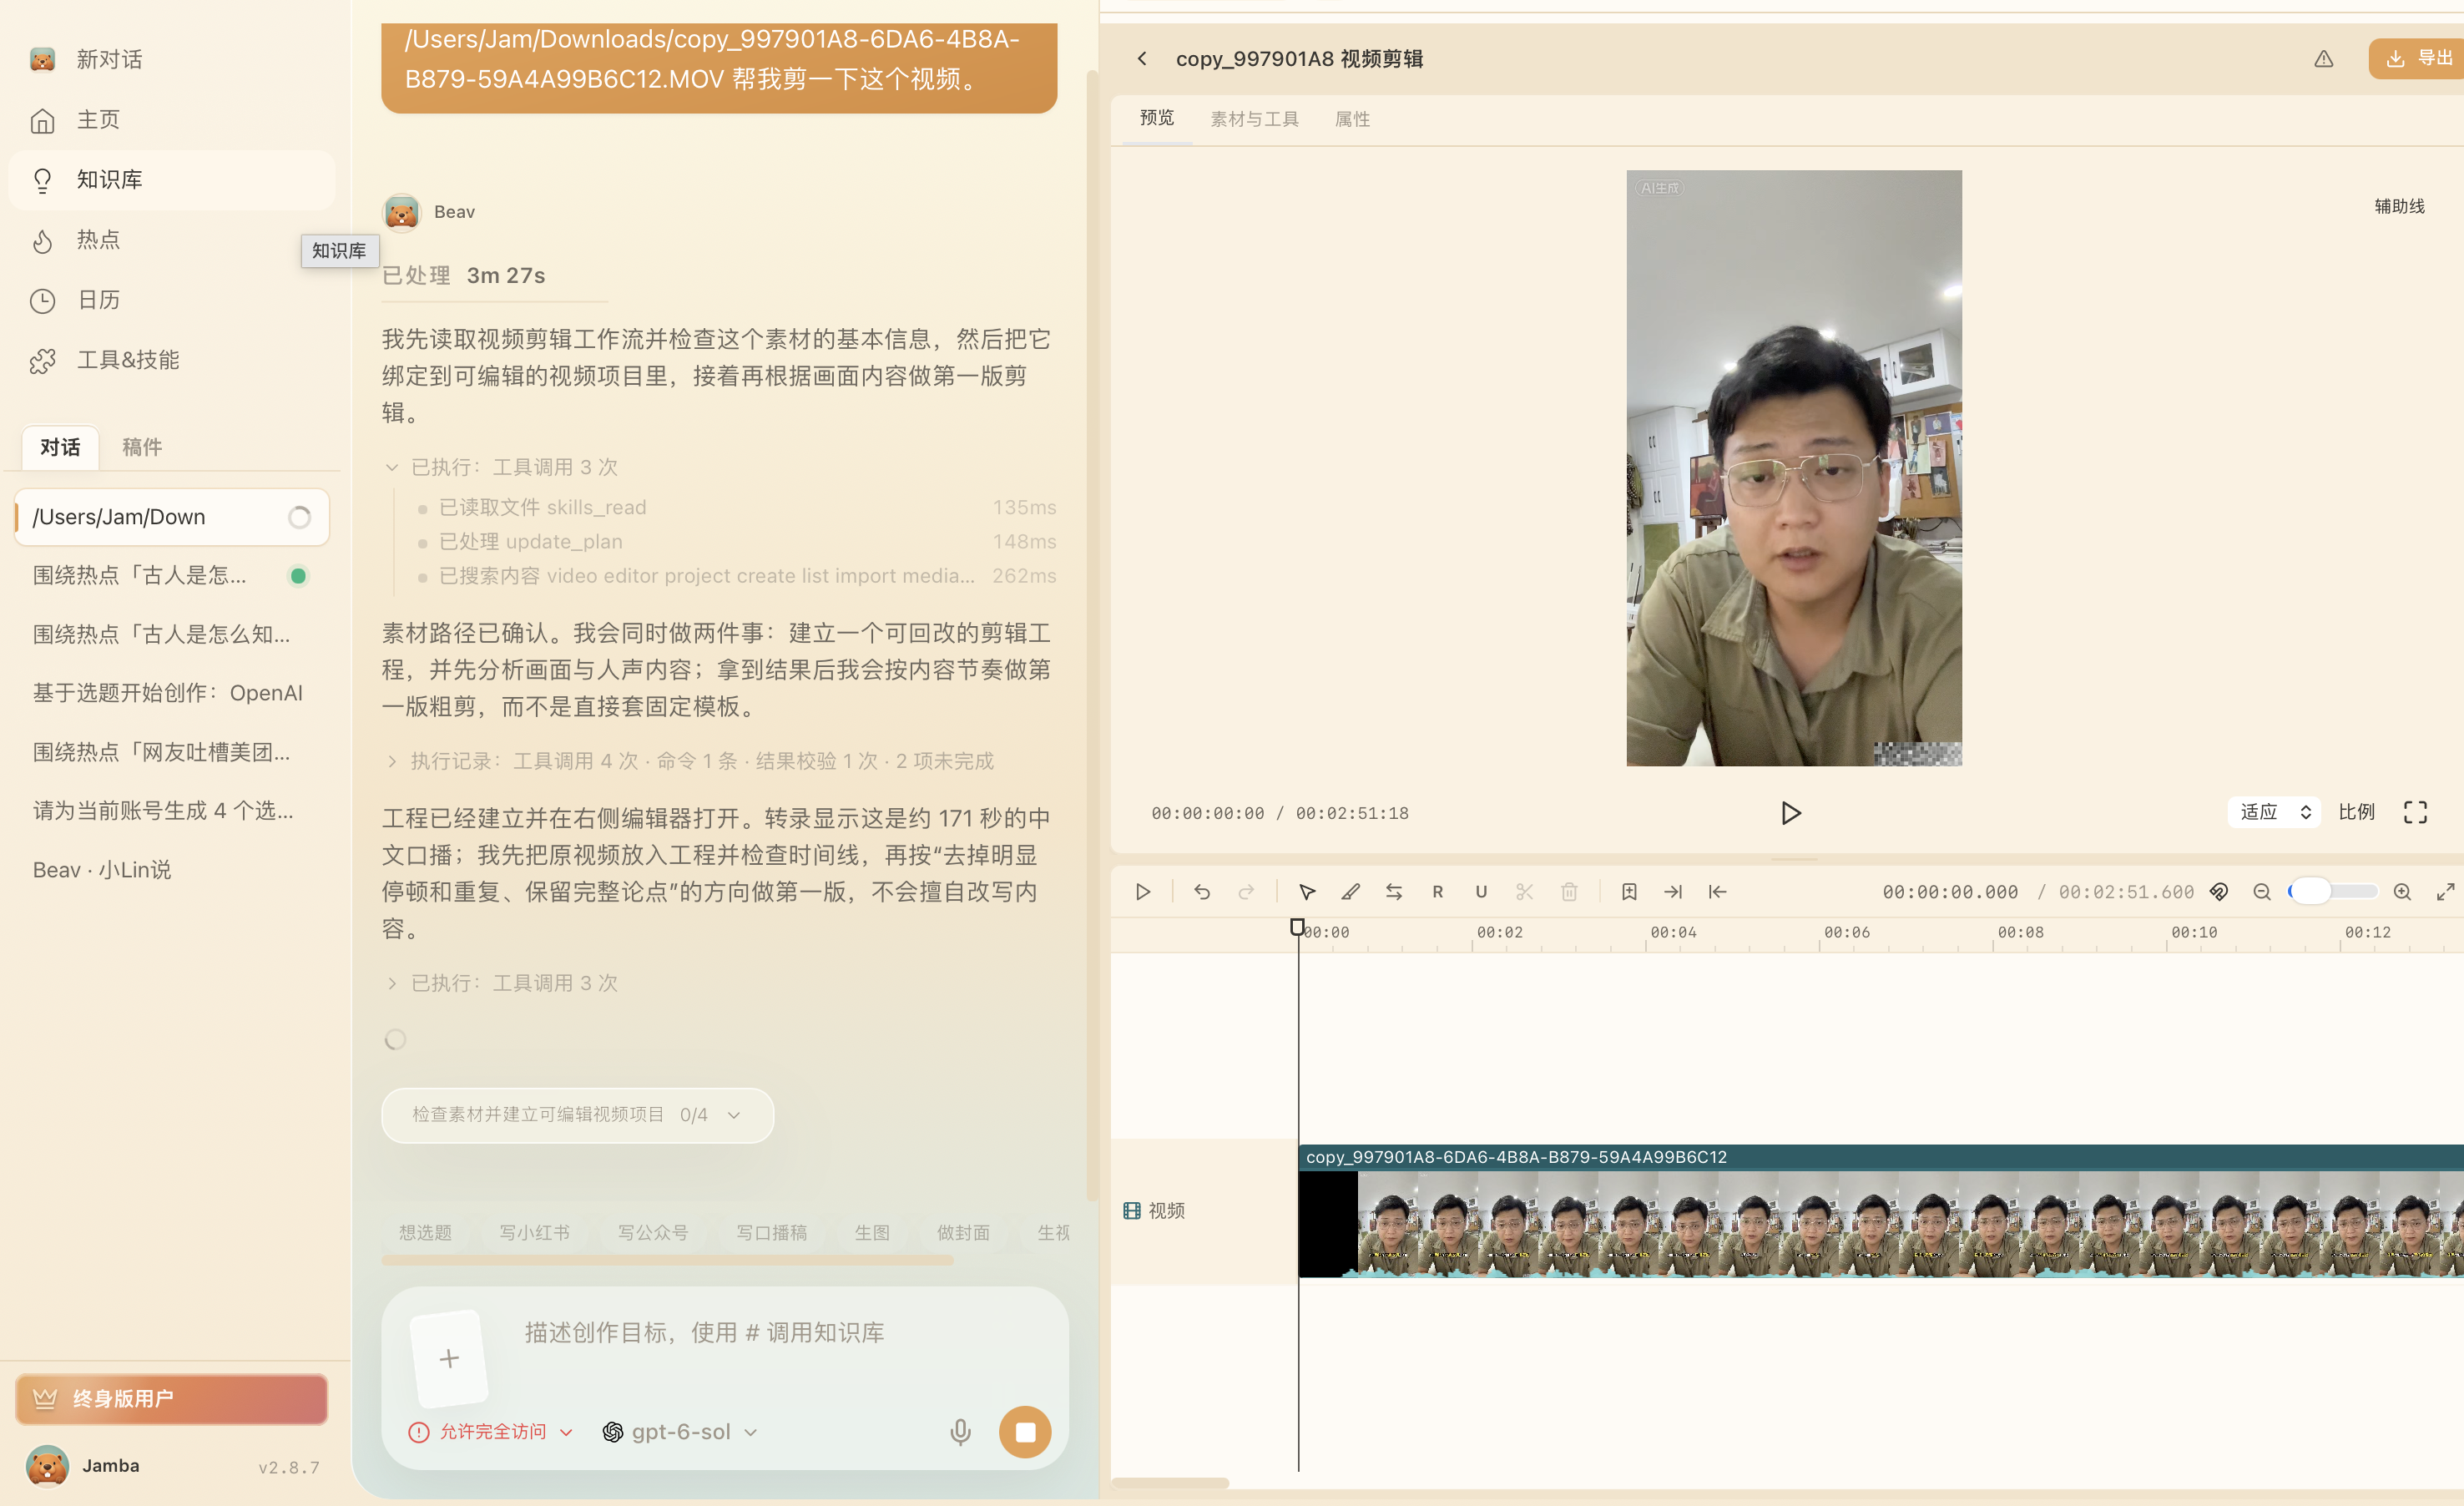
Provide a video in the chat and state your editing goal, for example "Clean up this talking-head clip and add subtitles." Lectures, courses, interviews, conversations, and screen recordings with narration are all handled with the talking-head workflow, as long as speech carries the video.
The AI transcribes the video, identifies slips and pauses to remove, splits the speech into meaningful subtitles, and arranges the speaker shots, supplementary footage (B-roll), and explanatory animations. A broad request such as "edit this for me" includes full content editing, subtitles, B-roll, and animation by default. If you only want to trim one section, or explicitly don't want animation, just say so.
- The plan from each analysis step is saved separately, and the AI reviews it before applying it to the timeline. You can also edit and save a plan in its plan dialog, then apply it directly without reanalyzing.
- Picture-in-picture may start with a replaceable placeholder showing the needed visual and its position. Replace the media on the timeline, or ask the AI to fill it from project media, the asset library, or knowledge base assets.
- If a request is interrupted, the saved project, transcript, and plans are still there. Ask the AI to continue; edits already applied are not applied again.
Have the AI change specific content
Select a clip and tell the AI your goal, for example "Make the selected subtitles white with a black outline and keep their position." Inside a group (subsequence), you can also say "Move the title in this group to the top." The AI can change text, position, size, volume, speed, and whether a clip is enabled. If no clip is selected, describe the specific time range or object.
When you specify "only the I/O range," content outside the range is kept. AI changes go into the project's undo history, so you can undo them.
Edit the timeline by hand
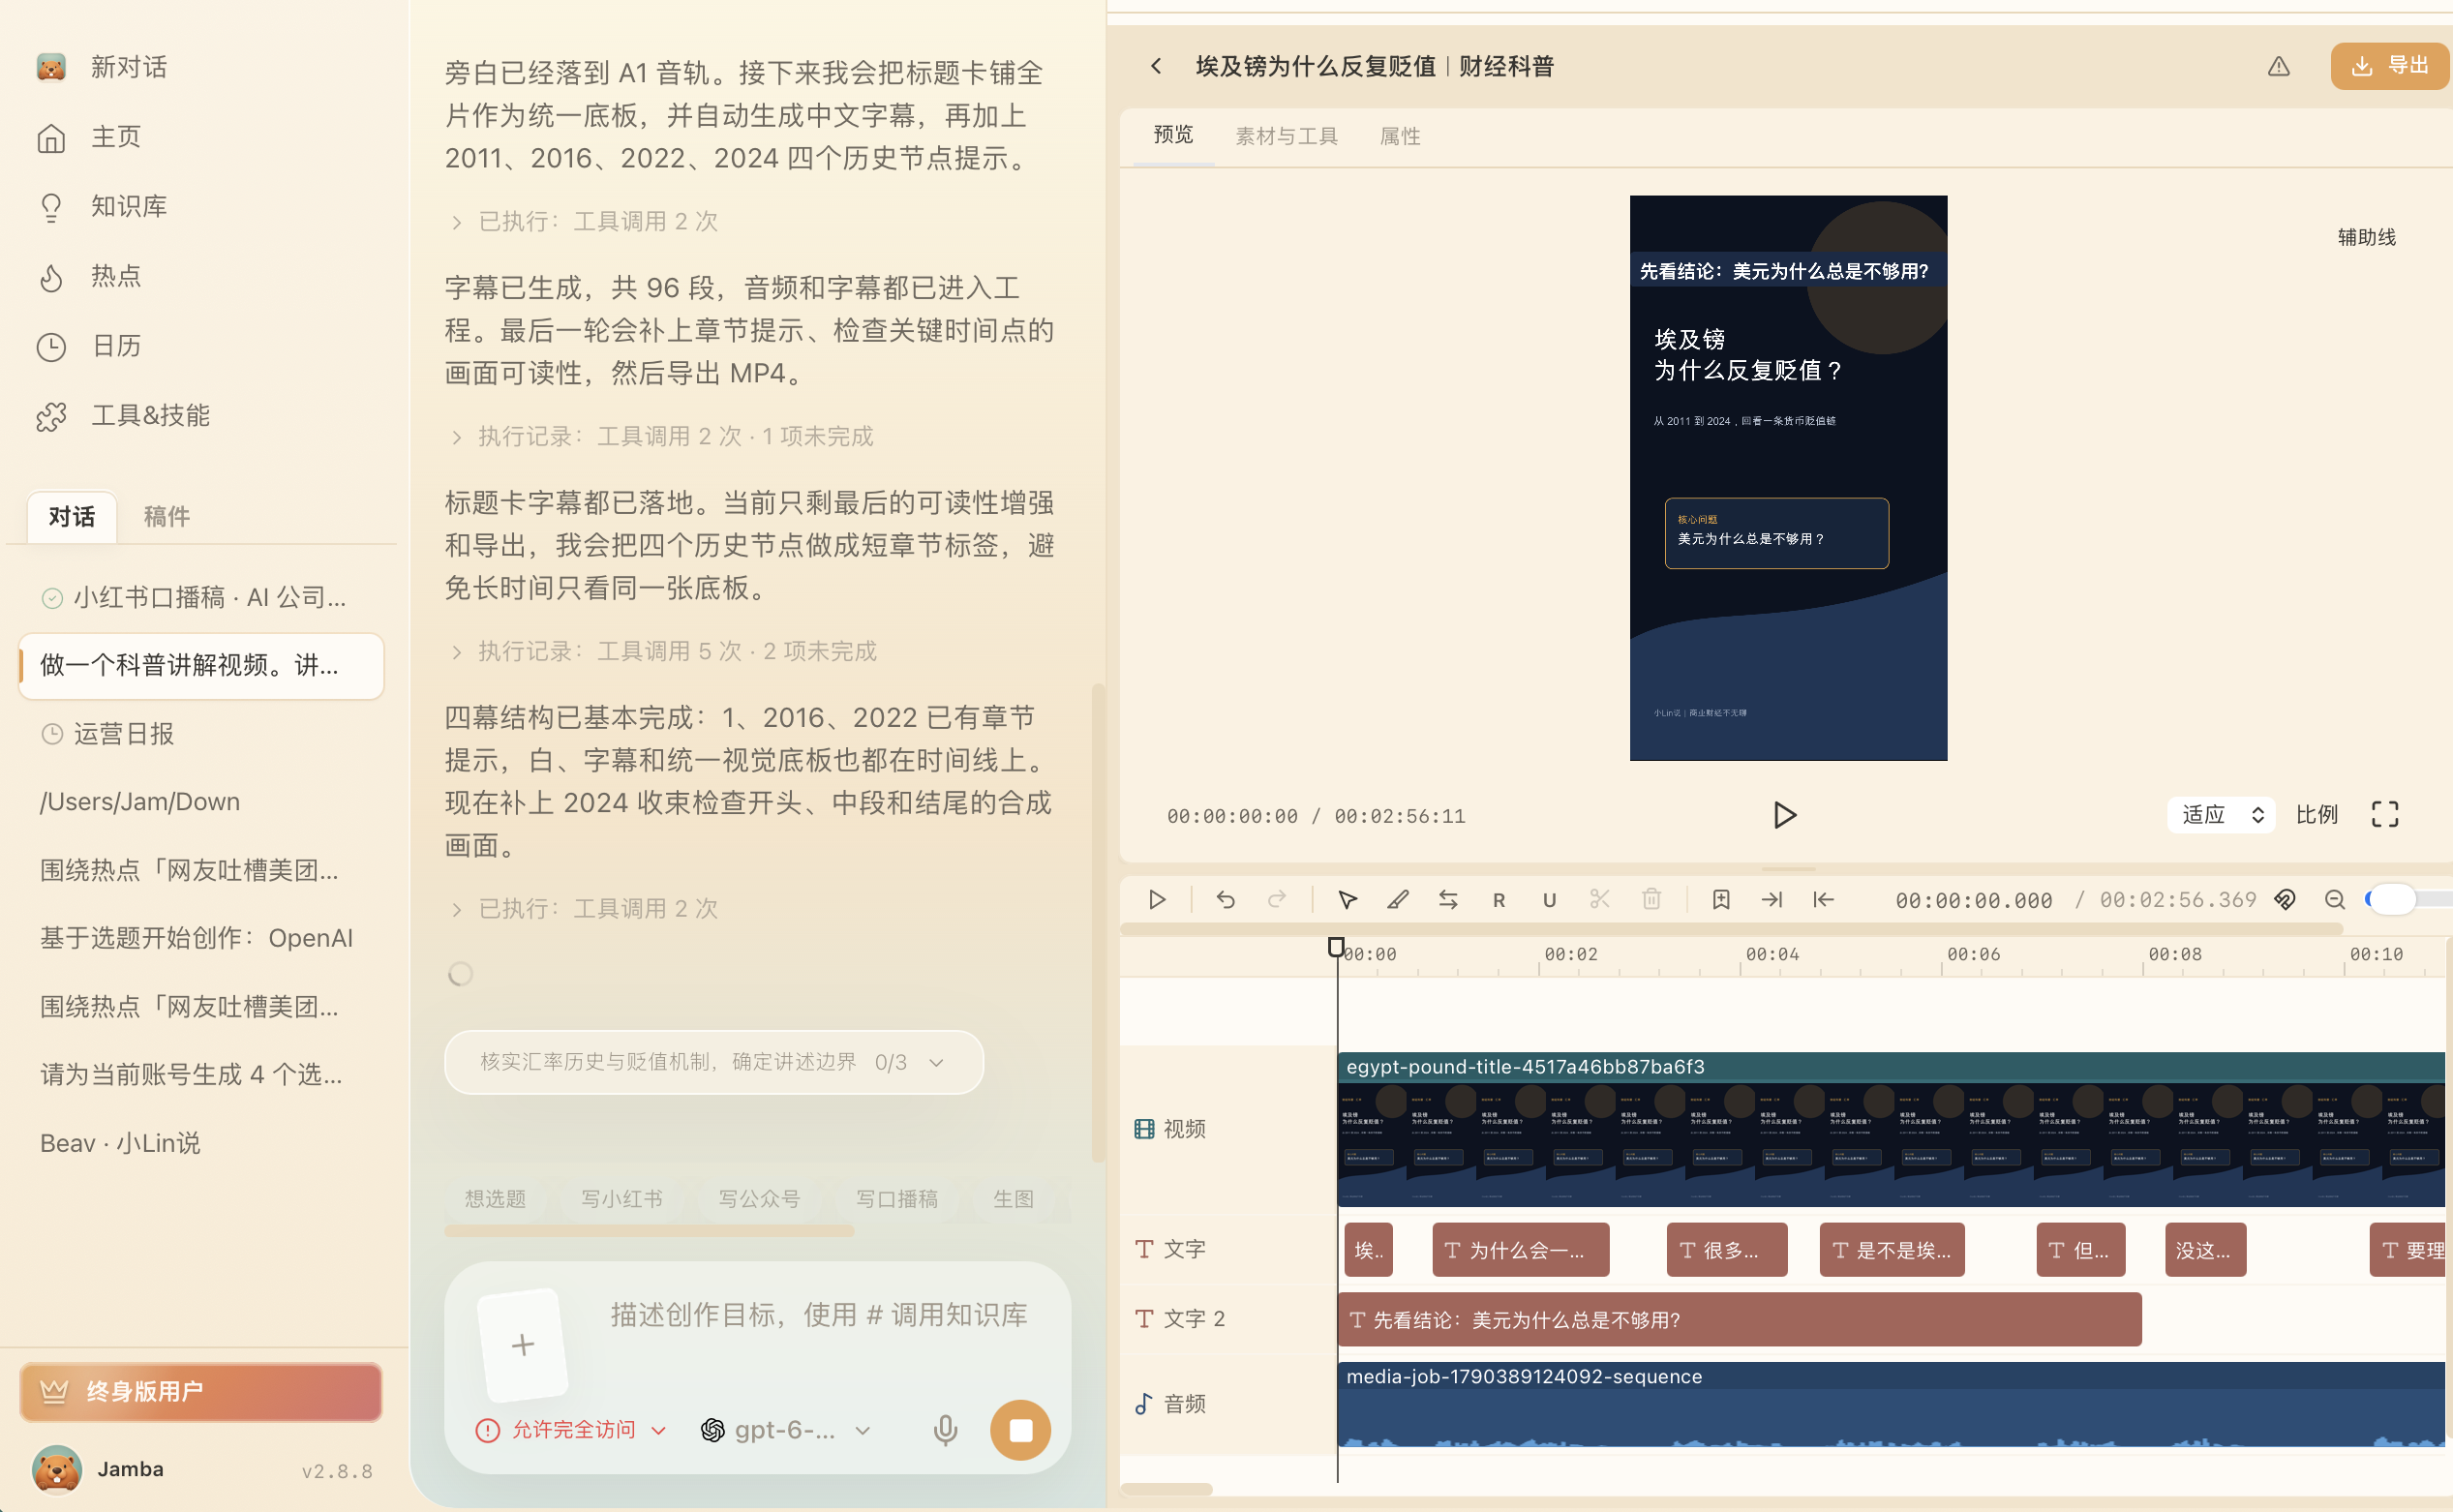
- Click a clip to show a white selection box; drag it to move, and drag either end to trim. Click an empty area of a track to jump the playhead to that time, and drag across empty space to box-select.
- The timeline and preview share the selection: clicking a subtitle, image, or video in the preview also selects the matching clip.
- By default the timeline takes 45%–55% of the editing area's height. Drag the divider above it to adjust, and double-click the divider to reset.
- Importing media only makes it available; it appears in the picture only after you place it on the timeline. If you can't see something, first check that the clip is on the timeline, then check the playback position and layer.
- A layered animation appears on the main timeline as one sequence block. Double-click it to open its internal layers.
Built-in animations
Animation in the editor's top-left corner opens Narration overlays by default, with 9 presets: Key phrase, Speaker intro, Q & A, Myth vs fact, Big number, Chapter title, Three beats, Opposing contrast, and Step highlight. Click a preset to change its text, theme color, and duration (3–30 seconds, 5 seconds by default), then click Add to timeline to add a layered clip at the current playback position.
Graphic accents offers 28 symbol animations, including arrows, circles, hearts, and sparkles. Click one to add a 3-second clip. All built-in animations work offline and do not need an internet connection or a model.
Effects and camera motion
Select a video, image, or shape clip and open Effects:
- Effects are grouped into Basic, Lens, Distort, Retro, and Split & frame. Hover to preview and click to add. There are also combinations such as Interview focus, Soft portrait, Film projector, Retro pixel screen, Dream prism, Comic impact, Diptych, and Contact sheet. Effects appear on a separate purple Effects track; drag the clip or its edges to adjust where it applies.
- Camera motion includes Push in and return, Two-step push in, Gentle breathing, and Tilt and settle. The rhythm scales with the clip's duration, and you can keep editing the keyframes.
All effects are computed on your computer and do not need an internet connection. Soft portrait processes the whole frame; it is not face retouching. Camera motion scales around the clip's center and does not track people automatically.
Explanatory animations made by the AI
When you need to show relationships, comparisons, processes, or mechanisms, the AI can make motion graphics with Remotion, render them into real videos, import them into the editor, and place them on the timeline to match the narration. It can also make a standalone explainer animation and deliver both the source code and the finished video.
This requires installing the Remotion plugin under Tools & Skills → Plugins first, plus a local runtime such as Node. See Skills, plugins, and MCP. After import, you can trim and move the animation video; to change the graphics inside it, ask the AI to modify the source code and render again.
Export
Ask the AI to export, or export from the editor. Export runs in the background, so you can keep editing after submitting it. Export uses a snapshot of the project at submission time; later changes need another export. If you only specify a file name, the file is saved in the project's exports folder, and duplicate names are numbered automatically. When the export finishes, use Share to phone in the video preview to get it by scanning a code.
Report an editing problem
Click Report a problem next to the AI button in the top-right corner of the editor's title bar, describe the problem, and submit. We recommend keeping Attach redacted error logs checked, as it is by default.